
 |
 |
 |
In our last episode of ``Bob and Mary rebuild a Bungalow" we moved the furnace (and replaced the old ducts and registers) over to the south side of the basement. That was phase I. The plan has always been to move the washer and dryer from the kitchen into the basement so that we would have more room in the kitchen. The dryer went down a couple of years ago. This installment sees our fearless homos (home owners) making substantial plumbing modifications to accommodate the washing machine...
The Frame
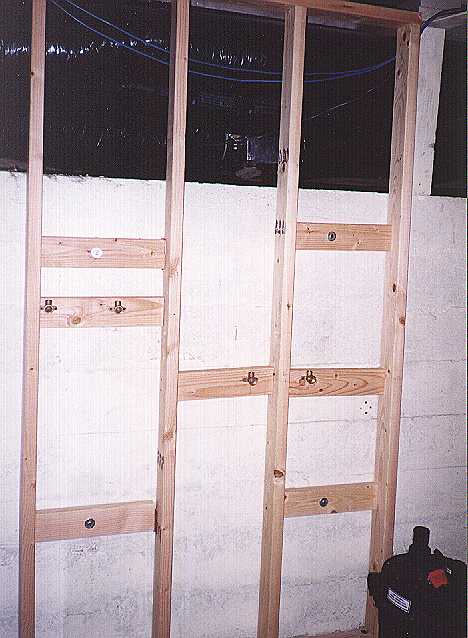
First, we need a frame to support all the new stuff. The four cross members with silver disks are 2x4 blocks that are lag screwed into lead inserts in the concrete wall of the basement. I nailed and trued the studs and the plates together laying flat on the floor before tilting it up to nail it to these blocks. Then I added three more blocks to mount the 1/2" drop-eard 90s.
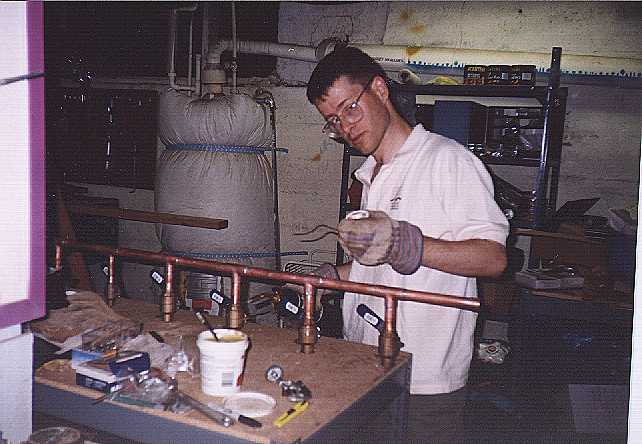
Copper
One thing that I debated was whether or not to install the water hammer arresting air columns (the 24" tall stubs you see over to the left). I'm told that modern washer valves don't switch as fast as older ones did, so the hammering noise isn't as much a problem as it once was. Also, the columns eventually fill with water anyway as the air dissolves. In the end, I decided to include them, since the cost was minimal and they were easy to install now. Furthermore, if I do need them and the air has dissolved, they can be drained quite easily using the laundry sink faucets.
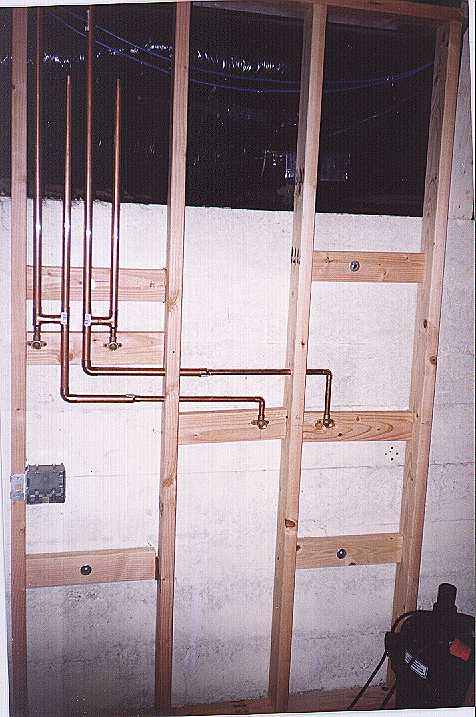
After cutting, deburring, sanding, and fluxing the pipe, I ``dry fit" it to double check my pipe routes. We'll get back to the frame in a little while (in about ten days, actually), but first, we need drain and vent connections...
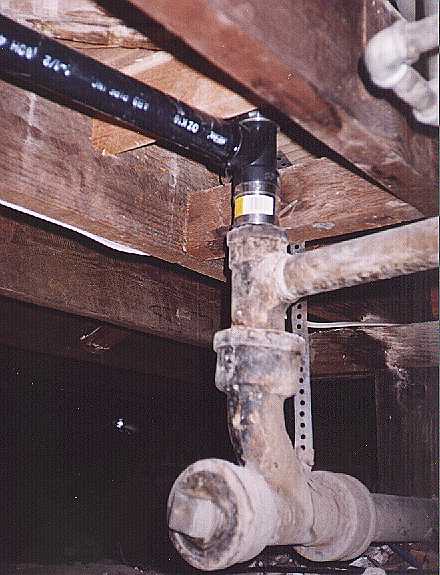
An 80 year old clean out plug
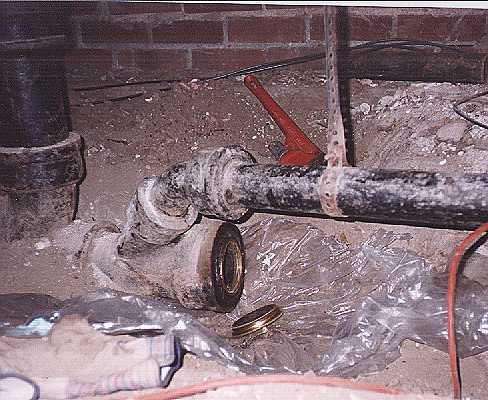
Every day, for over a week, I crawled under the bathroom, sprayed WD-40 on the Building sewer clean out plug and heaved with all my 130 lbs on that little brass disk. Even with the torque of my 18" pipe wrench and an extra foot of pipe slipped over the handle, it just laughed at me. I began to wonder if it was really a clean out or just a decoy.
Finally, I threatened it with the cold chisel and a drill. It was either it or me, I told it... It moved. Not much. Maybe ten degrees, but it moved. 40 minutes later I was able to take this picture. As this was my first waste line operation, I was prepared for the worst. With the plastic and a 6" hose clamp, I was ready to jury rig a seal on the end of the sewer line if I had managed to mangle the plug but not remove it. I've gotten into trouble before with this kind of stuff - it's good to have a fallback position.
New ABS
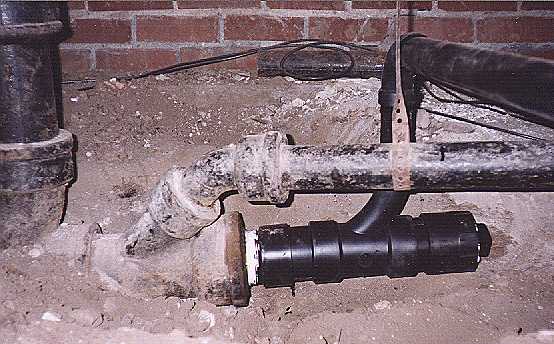
When the clean out plug did come out, I discovered that the 4" sewer line had a 3" clean out plug (a typical condition - everyone told me later), so I had to go to the store (two Home Depots and an OSH) to get 3" parts instead of the 4" parts are had been prepared with. That done, the new drain went in a couple of hours.
Houston, we're venting
The next trick was tapping into a vent line - in this picture, the trap arm for the tub is coming in from the right and dropping into a 2" waste line below. (I had intended to run my new pump into this 2" line until the SJ building department informed me that UPC required 3" minimum destination for a waste water pump.)
Anyway, cutting into the vent was easy with my RYOBI reciprocating saw (arr arr Arr Arr ar ar). I was able to slip the new combo wye fitting and a couple of mission couplings in by sliding the vent pipe up from the attic. This all went relatively easily. I was beginning to get cocky. Not so fast, pipe boy.
A valve for everything
Those of you who know about me rewiring my entire house (that project took about a year) when all I had to do to make the insurance company happy was replace the fuse panel with circuit breakers will not be surprised by this next part: I installed a manifold to individually control the water supply to the various areas of the house. Building the hot and cold valve manifolds took another week.
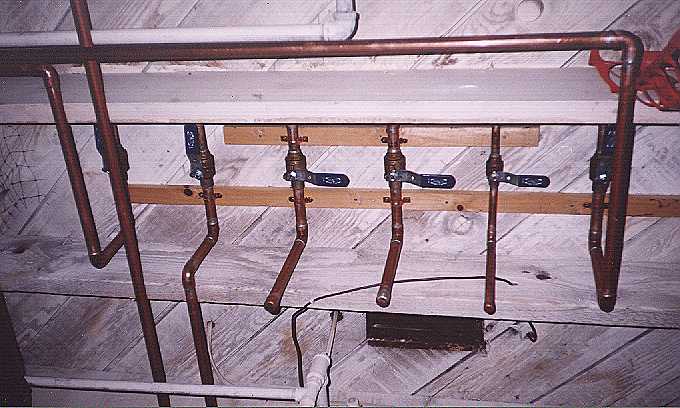
Here's the cold manifold installed and waiting for future projects...
Hot and cold water
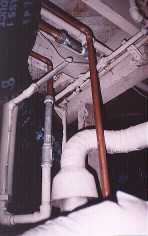
This is the area above the water heater where I ``cut-in" to the existing lines. The closest copper pipe (brown - all the other pipes were painted white by the previous owners) is the cold supply coming from the cold manifold to the water heater. The middle pipe is the cold supply to the manifold. (On this one, you can see the dielectric union that all the Iron to copper connections have to prevent galvanic corrosion.) The far copper pipe is the hot water going to the hot manifold.
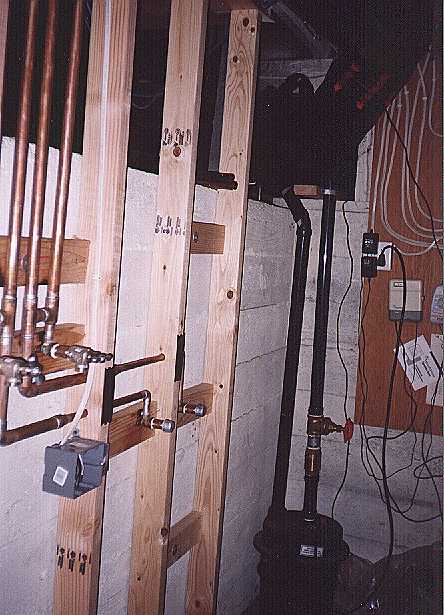
Ready for the inspection
So, here's the finished frame with all the copper soldered up. There's a great deal of scorched wood here, but I think the flames are out.

Here's another view of the ``rough" project. I've tested the pump and fixed the leaks (one drain threaded drain, and one sweated supply).
The night before the inspection, I tried to do a pressure test by filling the pump reservoir with the pump unplugged so that water level (about 7') would show that the connections would hold. At about 5' of head, the grommet where the power cord goes into the pump reservoir blew out and drenched me. I tried taking the pump out of the system, but I still couldn't fill the system high enough because my test plug (weenie) wasn't big enough to seal the main sewer line. I was stumped. How was I going to test the drain lines?
The inspector was sympathetic. He pointed out that next time (?!?) I could rent a bigger weenie. Although I wasn't able to do a proper pressure test on all the drain lines, the inspector looked at my workmanship and observed that any leaks would be my problem. So, if there were any, he knew I would take care of them and signed off on the permit. I drenched myself again disassembling the test lines. That night I went out for a celebratory dinner of satey, pad thai and tom kha gai at my favorite Thai restaurant, Thep Thai (23 North Market in San Jose).
Phase II complete
Finally, I ran a trap arm from the new plastic (hey, who's gonna see it?) laundry sink and Pedro helped slide the washing machine down here into the basement. I also added a sheet of 3/8" plywood and 3 coats of white before painting a schematic : pink (hot), blue (cold) and green (OK to nail). Thanks go to David Varley for artistic inspiration. Of course, with the shelves up, you can hardly see the mural .

|
[Welcome] |
[Family] |
[Party On] |
[Words] |